EYELASHES
4 STEPS FOR A FLAWLESS CURL
Lift, curl, define and separate lashes for lasting results... these beauty tools are better together.
NOTE: Always use your curler before applying mascara.

1.
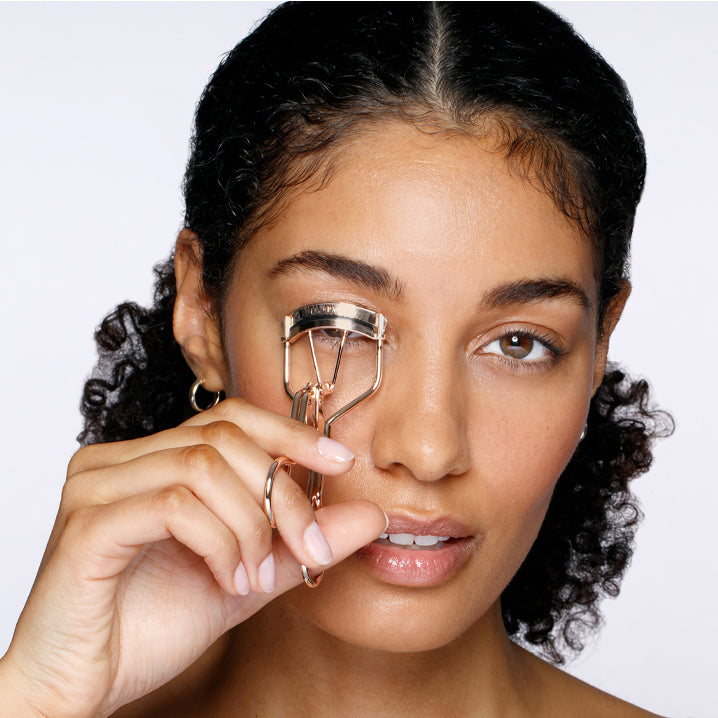
Open the curler handles and position the curler pad at the base of your upper lashes, making sure your lashes are centered. Gently press the handles together and hold for a few seconds. For added lift, you can repeat the process moving slightly up the lashline.

2.
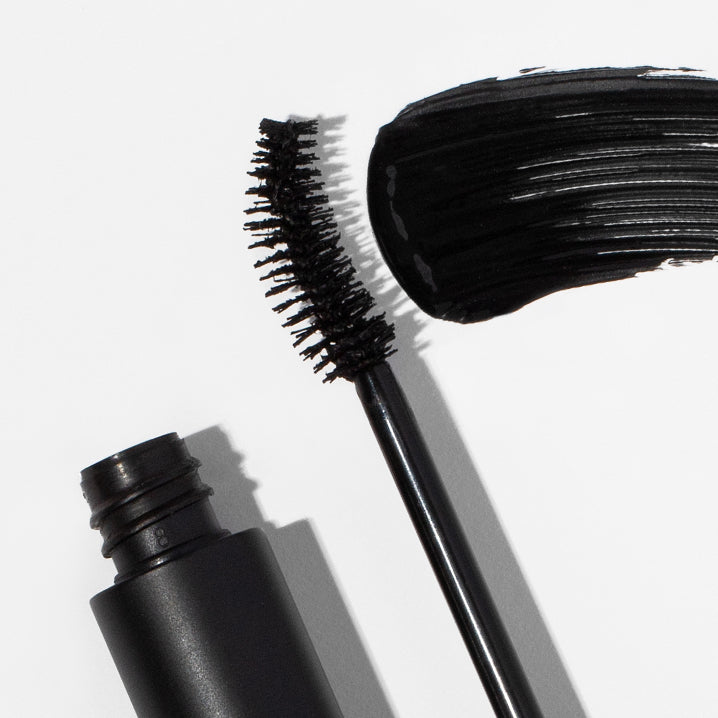
Position your eye aligned with the opening of the Lash Guard & Comb. Apply mascara to top lashes by holding the top edge of the opening against the top eye lid and lash line.

3.
Position the bottom edge of opening aligned against lower lash line to apply mascara to lower lashes. Apply mascara starting at base of lashes near guide edge and moving upward and out to end of lashes.

4.
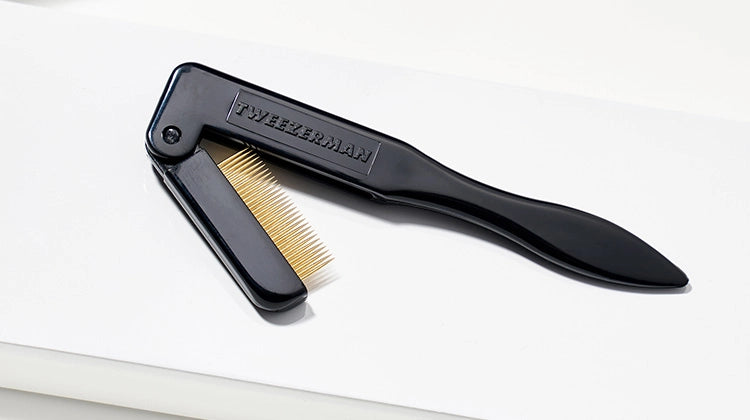
To remove excess mascara and prevent clumping, use your favorite lashcomb to glide through lashes and clean up mascara. Make sure mascara is still wet before combing with lashcombs.
MEET YOUR PERFECT MATCH
Every eye shape is different, so why should your lash tools be one size fits all? Our Curl 60° and Curl 38° lash curlers and combs are designed to fit different eye shapes to perfectly define your lashes. Here is a guide to identifying your eye shape and selecting the right lash tools for you:
Round Or Prominent Eyes?
Choose Curl 60°: features a deeper curve that follows your eye’s contour to catch every lash and deliver eye-opening results.

Almond or Deep-set Eyes?
Choose Curl 38°: designed with a flatter curve for a more tailored fit that hugs your lash line and gives a natural, even lift.

4 MISTAKES YOU ARE MAKING DURING YOUR LASH ROUTINE
DID YOU KNOW...
- We offer a variety of curlers to best fit your needs.
- Our Classic Curler is out best-selling curler - it is great for beginners.
- Our curler pads won't crimp or stick to your lashes.
- Our curlers come with a total of 4 replacement curler pads, a year-long supply.
- You should replace your curler pads every 3 months and your curler after 1 year for optimal performance.

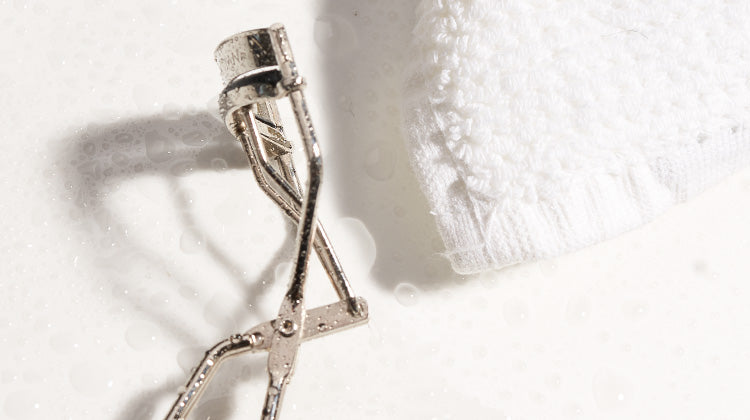
All of our tools can be cleaned so they are great for DIY routines or to bring to the salon with you. Bringing your tools to the salon is a great way to ensure cleanliness.


